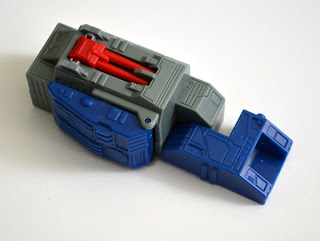
On today's edition of Lets Build A Model! I will build the final base needed to complete Kabaya's Fortress Maximus model. The first two bases were equally exciting to witness in completion, and this one was no exception. Here's a quick rundown of my process.
 |  |
Step 1.) Assemble the tower.
 |  |
Step 2.) Snap the side door together, then mount the panel on the side of the tower.
 |  |
 |  |
Step 3.) Install the spring mechanism for the launch ramp first, then snap the blue cover on and the ramp.
 |  |
Step 4.) Build FM's left arm then add a sticker. This is where I screwed up. With my snippers, I clipped the sprue very close to the peg attached to FM's fist. My error pinched the plastic of the peg which made the fist installment more difficult than necessary. However, I managed to make the hands snap on securely with no signs of any potential problems occurring from my mistake.
 |  |
Step 5.) After applying all of the stickers included, build the Sky Base.
 |  |
Step 6.) Snap Powerglide together then apply his stickers. After that, you are done!
 |  |  |
Compared to the stress I've felt while putting Fortress (Cerebros) and the launcher base together from Box #2, I found the third model to be relatively easy. I do stress that you carefully assemble the spring mechanism, otherwise that action may be rendered useless. Overall, this was a fun and smooth build from the start.
I will do my last (quick) review of the Sky Base and Powerglide separately, before covering Fortress Maximus fully assembled.


No comments:
Post a Comment